
Paracord bracelets, a staple in survival gear, trace their origins to World War II. Initially used as parachute lines, these sturdy cords have evolved into versatile survival tools. This section introduces paracord bracelets, explaining their historical significance and diverse uses. Whether for crafting a makeshift shelter, securing gear, or as a fashion statement, these bracelets embody a blend of utility and adaptability. Ideal for outdoor enthusiasts and DIYers alike, paracord bracelets offer a combination of practicality and creativity.
Basic Paracord Bracelet Knots
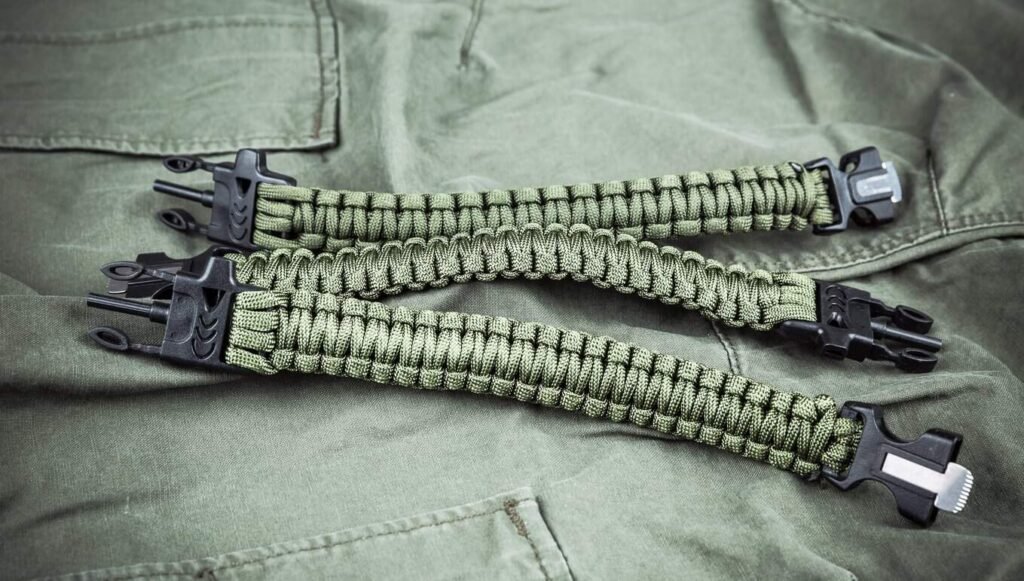
Mastering the Cobra Knot
The Cobra knot is the cornerstone of many paracord bracelet designs. It’s simple yet durable, making it ideal for beginners. To start, you’ll need about 6-8 feet of paracord, depending on your wrist size. The process involves looping and knotting the cord in a way that lays flat against the wrist, providing both comfort and durability. For a step-by-step guide, Instructables offers a comprehensive tutorial on crafting a bracelet using the Cobra knot.
The Solomon Bar: A Stylish Variation
Another popular knot for paracord bracelets is the Solomon Bar, also known as the Portuguese Sinnet. This knot creates a more intricate pattern compared to the Cobra, making it a good next step for those who have mastered the basic knot. The Solomon Bar is not only visually appealing but also sturdy. Detailed instructions can be found on Paracord Guild.
The Snake Knot: Compact and Rugged
The Snake knot is slightly more complex but offers a unique, tightly woven pattern. This knot is particularly good for smaller bracelets or when a more subtle style is desired. It’s also quite compact, making it a good choice for those who prefer a less bulky bracelet. Survival Life has an excellent guide on tying the Snake knot, complete with visuals.
Securing Your Bracelet: The Buckle
Most paracord bracelets use a buckle to secure them on the wrist. Attaching the buckle properly is crucial for the bracelet’s functionality. The method involves melting the ends of the cord and pressing them into the buckle’s ends. YouTube features several videos demonstrating different techniques for attaching buckles to paracord bracelets.
Advanced Paracord Weaving Techniques
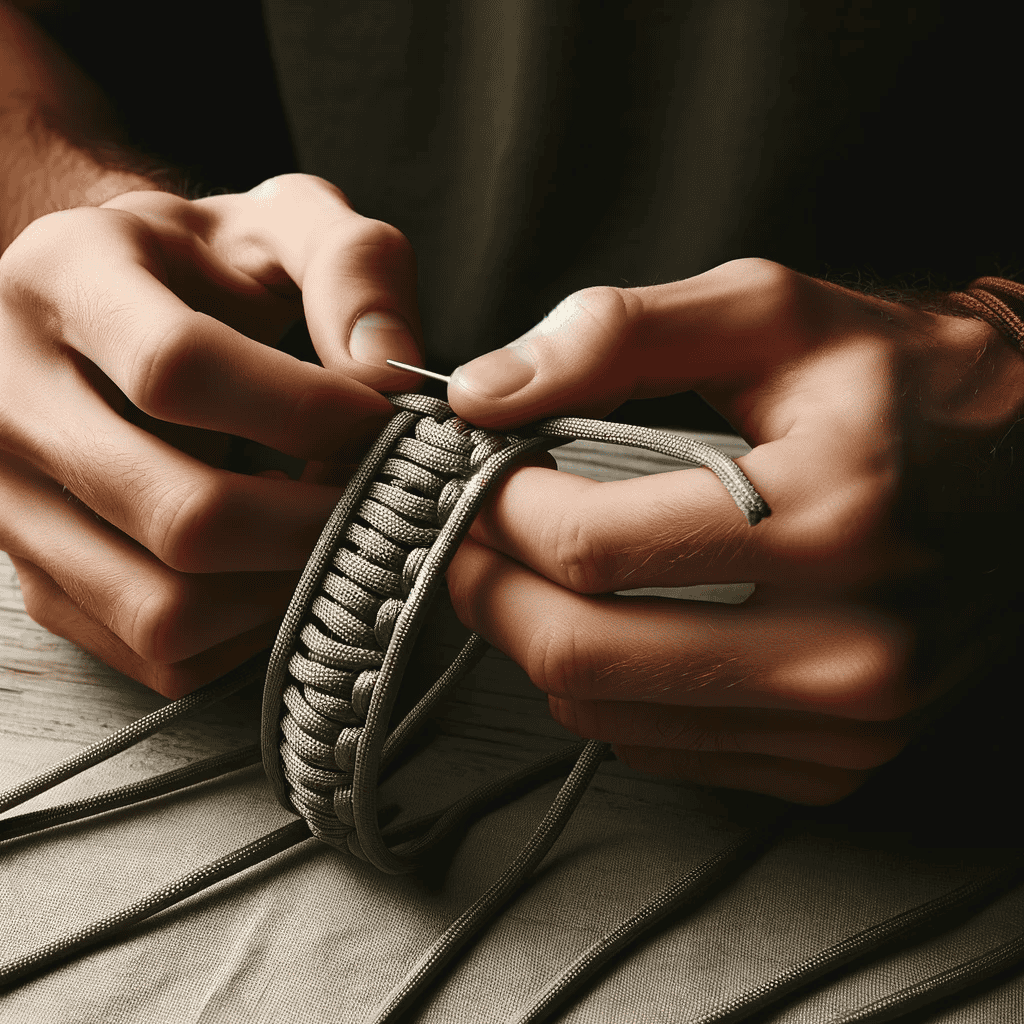
Exploring the King Cobra Weave
The King Cobra weave is essentially a Cobra weave over another Cobra weave. This technique doubles the amount of paracord used and results in a thicker, more rugged bracelet. It’s ideal for those needing extra cordage for survival purposes. Detailed instructions for the King Cobra weave can be found on Paracord Planet, which provides a visual and descriptive guide to mastering this weave.
The Trilobite Weave: A Unique Look
For a distinct and wide bracelet design, the Trilobite weave is an excellent choice. This technique creates a flat and broad pattern, which can be more comfortable for daily wear. The weave’s intricate appearance makes it a favorite among advanced paracord crafters. You can learn how to create this weave with tutorials available on Tying It All Together, which offers detailed video guidance.
Fishtail Weave for Sleek Design
The Fishtail weave provides a sleeker, more streamlined look compared to the bulkier King Cobra. This weave is less complex than the Trilobite but offers a neat and clean finish, perfect for those who prefer a more understated style.
Creating a Mad Max Style Closure
For those who prefer a bracelet without a buckle, the Mad Max style closure is a popular choice. This closure method uses a loop and knot system for a fully adjustable bracelet. It not only adds a rugged aesthetic but also makes the bracelet completely made of paracord, maximizing its utility in survival situations. A tutorial for this style of closure is available on Instructables.
Adding Functional Elements to Bracelets
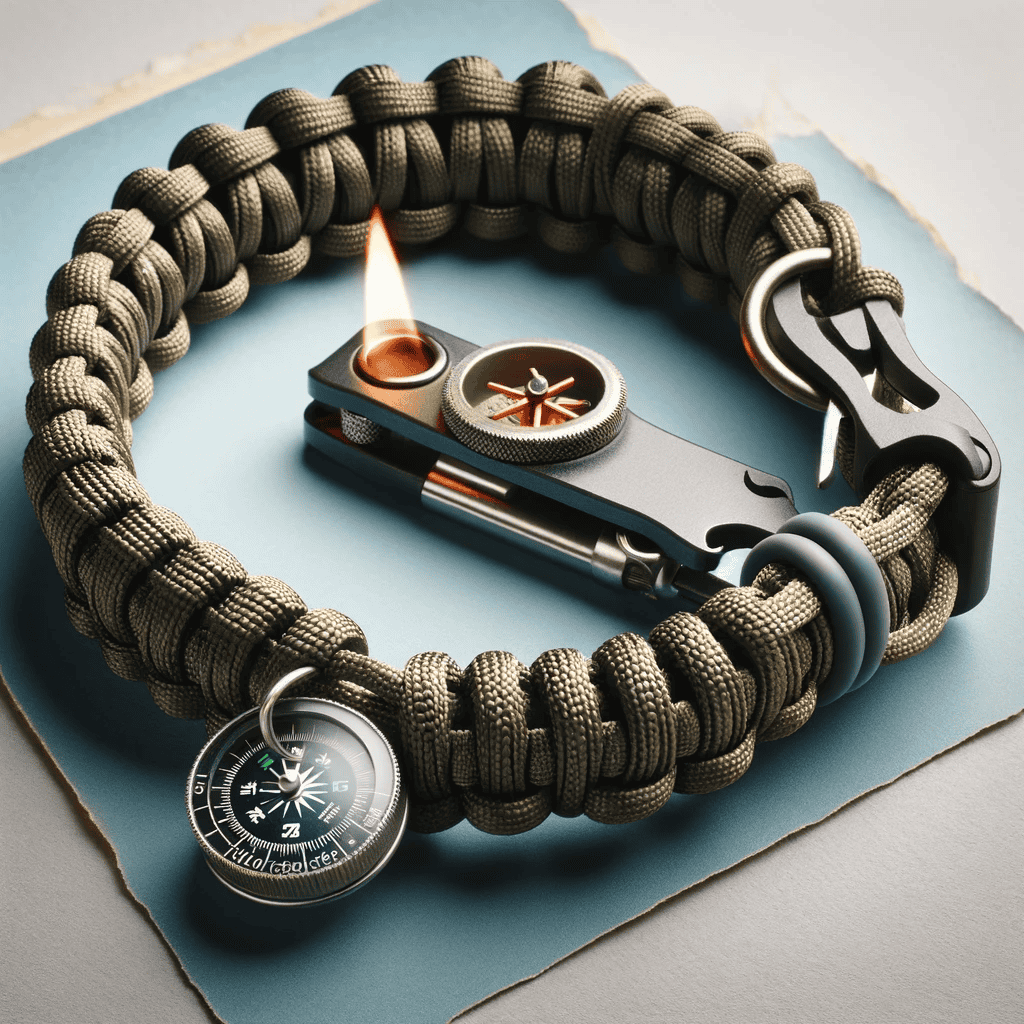
Integrating Survival Tools
Enhancing paracord bracelets with survival tools can significantly increase their utility. Adding a small firestarter, a compass, or a whistle can turn a simple bracelet into a multi-functional survival kit. These additions are particularly useful for hikers, campers, and outdoor enthusiasts who might find themselves in survival situations.
Customization with Beads and Charms
For those looking to add a personal touch to their bracelets, incorporating beads or charms is a popular option. These can range from decorative beads to functional items like mini LED lights or small utility tools. Customization allows for both personal expression and added functionality.
Adding Emergency Gear
Some paracord bracelets can include small but vital pieces of emergency gear, such as a miniature knife blade or a tiny signaling mirror. These items can be lifesavers in emergency situations, making the bracelet more than just a piece of gear but a critical survival tool.
Customizing Your Paracord Bracelet
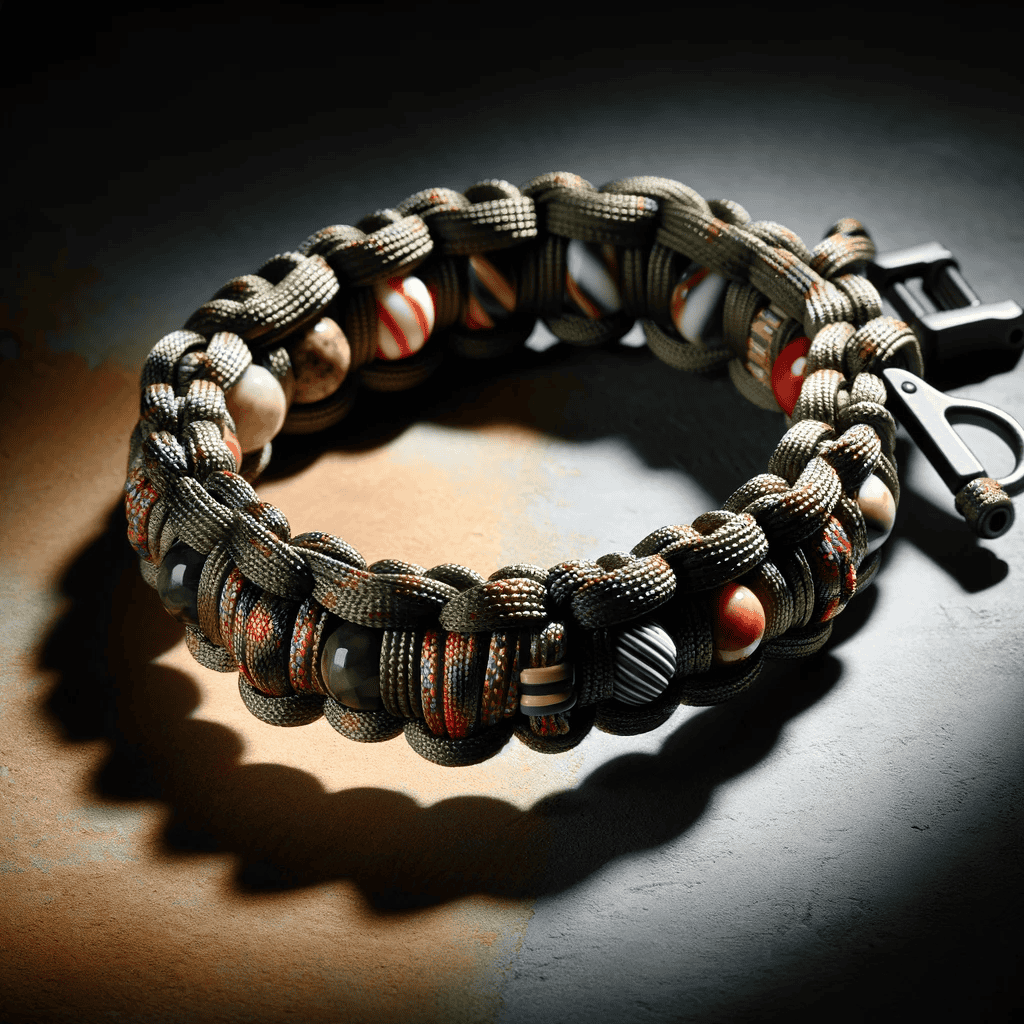
Personalization Through Color Choices
Choosing the right color for your paracord bracelet can reflect personal style, signify a cause, or even represent a group or team affiliation. With a wide array of colors available, the possibilities for personalization are endless.
Adding Charms and Beads for a Unique Touch
Charms and beads can transform a simple paracord bracelet into a unique piece of jewelry. From decorative beads to meaningful charms, these additions allow for further personalization. Craft stores like Michael’s offer a wide selection of beads and charms suitable for paracord bracelets.
Using Different Weaving Techniques for Distinctive Looks
Experimenting with different weaving techniques can drastically change the bracelet’s appearance. Techniques like the fishtail, Solomon bar, or even a double weave offer unique patterns and textures. For tutorials on various weaves, Paracord Guild is an excellent resource.
Implementing Multi-Colored Designs
Combining different colors of paracord in a single bracelet can create striking designs. This is a great way to represent sports teams, show school spirit, or just create an eye-catching accessory. Instructables provide guides on creating multi-colored bracelets.
Tying Paracord Bracelets for Different Wrist Sizes
Adjusting Patterns for Size Variations
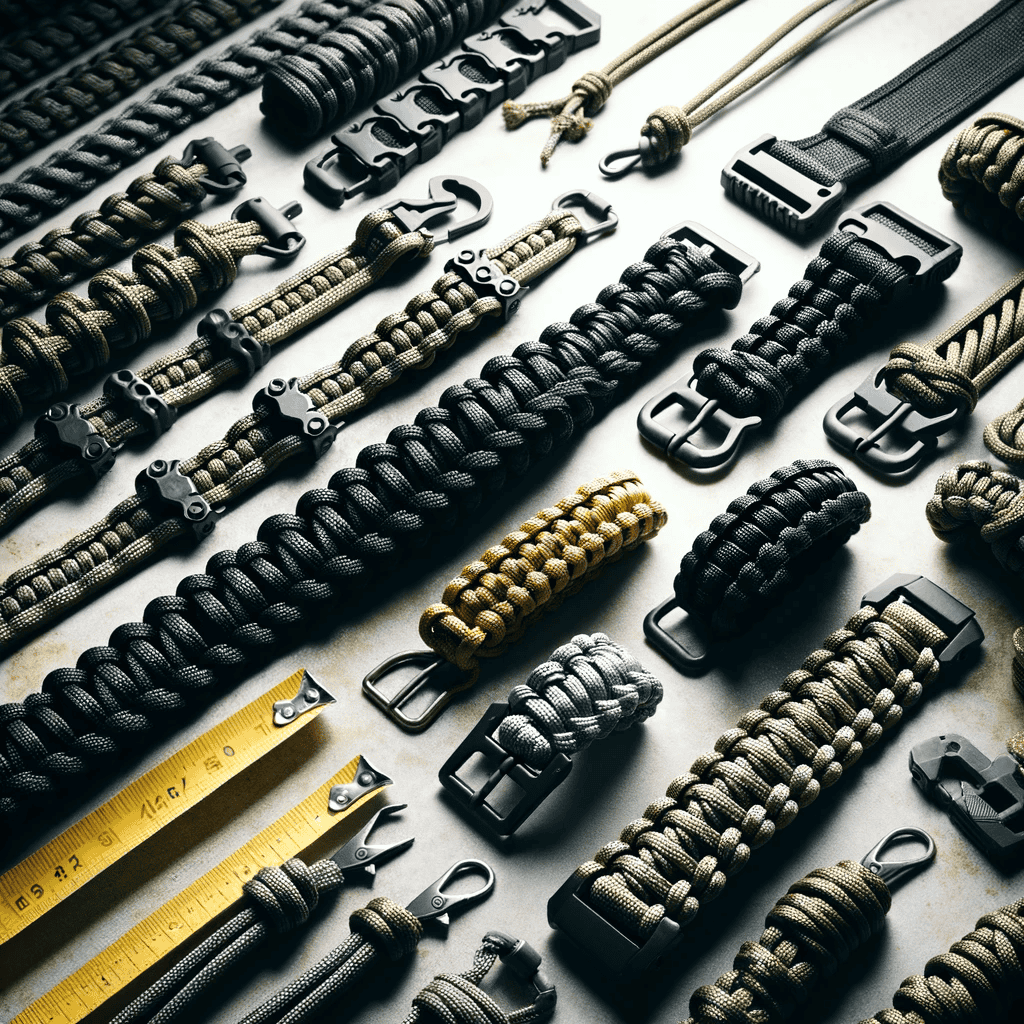
Different bracelet patterns require different lengths of paracord. For instance, a Cobra weave will consume more cord than a simpler weave. Therefore, it’s essential to adjust the amount of paracord used based on the chosen pattern and wrist size. Websites like Paracord Planet offer calculators and charts to help you determine how much cord you’ll need for different wrist sizes and weave types.
Creating Adjustable Bracelets
For those who prefer a more flexible fit or are making bracelets as gifts, adjustable closures are a great option. Sliding knots or adjustable shackle closures allow the wearer to tighten or loosen the bracelet as needed. Instructions for creating adjustable knots can be found at Paracord Adjustable Knot Tutorial.
Children’s Bracelet Considerations
When making bracelets for children, safety and comfort are paramount. It’s recommended to use fewer cord and simpler, flatter weaves to ensure the bracelet isn’t too bulky for small wrists. Moreover, avoid adding heavy or sharp elements for safety. Check out Kids’ Paracord Bracelets for child-friendly designs and ideas.
Catering to Larger Wrists
For larger wrists, consider using wider weaves such as the King Cobra or Trilobite, which can provide a more proportional look. Additionally, these weaves allow for more cords to be carried, increasing the bracelet’s utility. Big Wrist Paracord Bracelets have designs and tips specifically for larger sizes.
Paracord Bracelet Care and Maintenance
 Routine Cleaning for Longevity
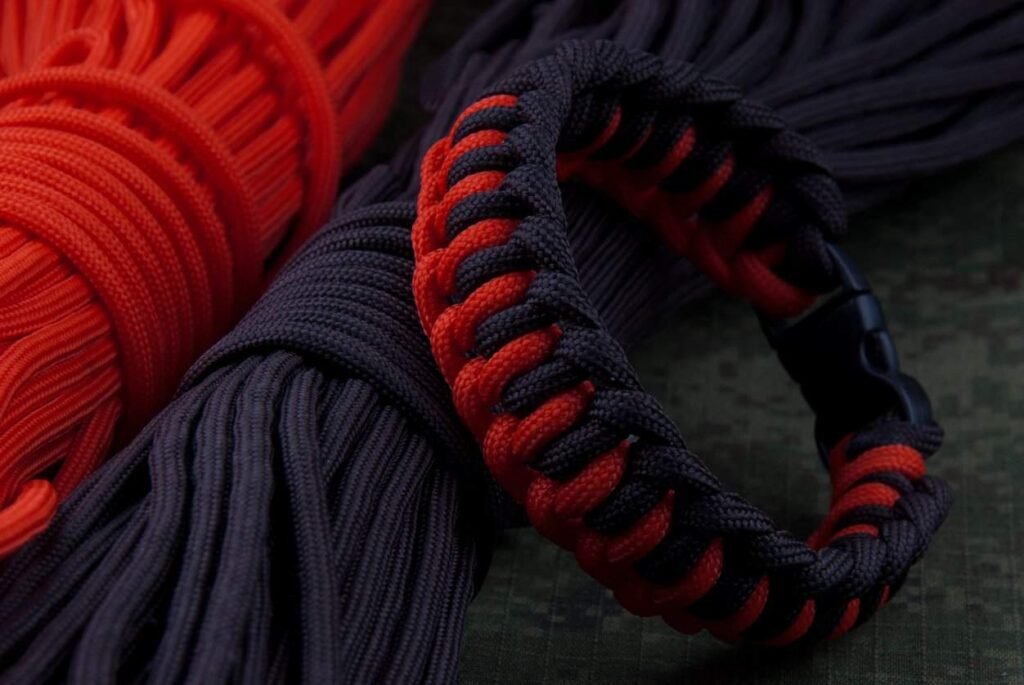
Regular cleaning is crucial to maintaining the appearance and durability of your paracord bracelet. Dirt and oils from your skin can accumulate in the fibers, leading to wear and tear over time.
Dealing with Fraying Edges
Fraying can occur with regular use, especially at the cut ends of the paracord. If you notice fraying, carefully melt the frayed ends with a lighter, applying heat just enough to fuse the fibers together without scorching them.
Refreshing the Bracelet’s Appearance
If your paracord bracelet starts to look worn or loses its stiffness, you can refresh its appearance. Soaking it in hot water and then letting it air dry can help tighten the weave and restore its original form. This process can also help in maintaining the bracelet’s shape. For more on this method, refer to Refreshing Paracord Bracelets.
Proper Storage Practices
When not wearing your bracelet, store it in a way that prevents tangling and preserves its shape. Hanging it on a hook or coiling it loosely in a storage box are good practices. Avoid storing it in compressed or cramped spaces to prevent the paracord from becoming kinked or misshapen.
FAQ
Q1: How long does a paracord bracelet last?
A: With proper care, a paracord bracelet can last several years. Its longevity depends on how often it’s worn and exposed to harsh conditions. High-quality paracord and regular maintenance are key to extending its lifespan.
Q2: Can I swim with my paracord bracelet?
A: Yes, you can swim with a paracord bracelet. Paracord is resistant to water, rot, and mildew. However, frequent exposure to chlorine or saltwater can weaken the fibers over time, so it’s advisable to rinse the bracelet with fresh water after swimming.
Q3: Are paracord bracelets safe for children?
A: Generally, paracord bracelets are safe for children, but it’s important to ensure they fit properly and do not include small parts that could be choking hazards. Additionally, it’s advisable to supervise younger children when they are wearing paracord bracelets.
Q4: Can I add a watch to my paracord bracelet?
A: Absolutely. Many outdoor enthusiasts integrate watches into their paracord bracelets. This requires some additional weaving techniques to securely attach the watch. Ensure the watch is durable and ideally waterproof.
Q5: How do I untangle paracord?
A: To untangle paracord, start from one end and slowly work your way through the knots and loops. Patience is key. Using a thin object like a needle or toothpick can help loosen tight knots.
Conclusion
In summary, learning how to tie a paracord bracelet is a valuable skill for anyone interested in outdoor adventures or survival tactics. This guide has equipped you with the knowledge to select the right materials, master various knots and weaves, and customize your bracelet for both practical use and personal expression. The process of making a paracord bracelet not only fosters creativity but also prepares you for unexpected situations. Keep practicing and experimenting with different styles to enhance your proficiency. Remember, each knot you tie brings a sense of accomplishment and a step closer to self-reliance in the great outdoors.

 Routine Cleaning for Longevity