
Welcome to the craft of paracord bracelets, where the right length of cord is key to creating the perfect accessory. Essential for survival enthusiasts and fashion-forward individuals alike, these durable bracelets require precise measurement for optimal functionality and style. In this guide, we’ll explore how much paracord is needed for different bracelet designs and wrist sizes, ensuring you have the exact amount required for your project, whether you’re a seasoned crafter or just starting out.
Understanding Paracord Types

The Basics of Paracord
Paracord, short for parachute cord, was initially used in the suspension lines of parachutes. It’s known for its lightweight and strong nylon composition. The most common type for bracelet making is Type III, also known as 550 paracord, indicating its minimum breaking strength of 550 pounds. Learn more about paracord basics
Type III 550 Paracord
550 paracord is the go-to choice for bracelet crafters. It offers an ideal balance between thickness and tensile strength, making it manageable for weaving while robust enough for survival needs.
Mil-Spec vs. Commercial Paracord
Military specification, or Mil-Spec, paracord adheres to rigorous standards set by the military, whereas commercial paracord is more readily available and comes in various colors and patterns. While Mil-Spec is superior in strength and reliability, commercial paracord is sufficient for most bracelet projects.
Understanding Paracord Sheath and Core
The sheath of the paracord is the outer braided layer, while the core (or kern) consists of several yarns for added strength. High-quality paracord features a tightly woven sheath and multiple core yarns. This structure is crucial for the paracord’s overall strength and flexibility.
Other Paracord Varieties
Aside from the popular 550 type, other varieties like Type I (95 cord), Type II (425 cord), and Type IV (750 cord) exist, each with different load-bearing capacities and thicknesses. These types are used based on specific requirements of the project or personal preference.
Popular Paracord Bracelet Patterns
The Cobra Weave
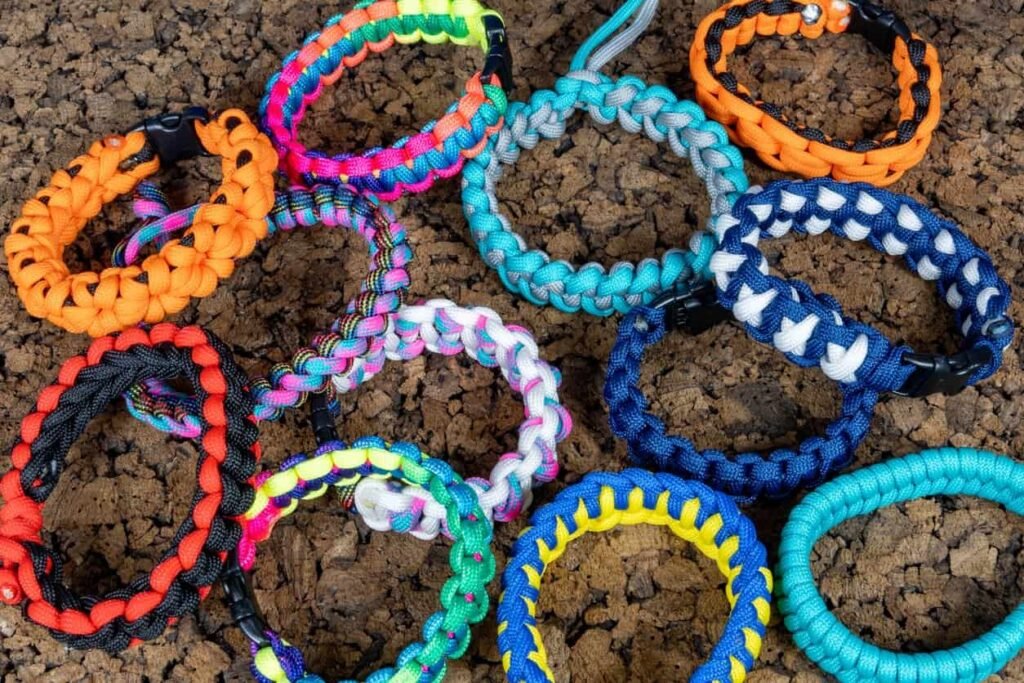
The Cobra weave is a classic and widely recognized paracord bracelet design. Known for its simplicity and durability, it’s an excellent starting point for beginners. This weave uses a relatively small amount of paracord, making it ideal for those who want a functional yet not too bulky bracelet. For a detailed Cobra weave tutorial, visit Cobra Weave Instructions.
The King Cobra Weave
An extension of the classic Cobra, the King Cobra weave doubles back over the original bracelet, creating a thicker and more rugged design. This pattern is great for those who prefer a more substantial bracelet and allows for more paracord to be carried in the bracelet. King Cobra Weave Guide offers a comprehensive look into creating this design.
The Trilobite Weave
The Trilobite weave, characterized by its unique, flat appearance, is perfect for those who prefer a broader bracelet. It’s also an excellent choice for incorporating multiple colors. While this pattern uses more paracord than the Cobra weave, its distinct look makes it a favorite among many. Learn more about the Trilobite weave at Trilobite Weave Tutorial.
The Fishtail Weave
The Fishtail weave offers a more intricate and tighter pattern compared to the Cobra. It’s relatively easy to learn and creates a sleek, clean look. This weave is perfect for those who want a more refined bracelet design. For instructions on creating a Fishtail bracelet, check out Fishtail Weave Instructions.
The Solomon Bar
The Solomon Bar, also known as the Portuguese Sinnet, is another popular paracord bracelet pattern. It is a bit more complex than the Cobra weave but results in a neat, symmetrical design. The Solomon Bar is versatile and works well with various colors and widths. A step-by-step guide can be found at Solomon Bar Tutorial.
Step-by-Step Guide to Making a Paracord Bracelet
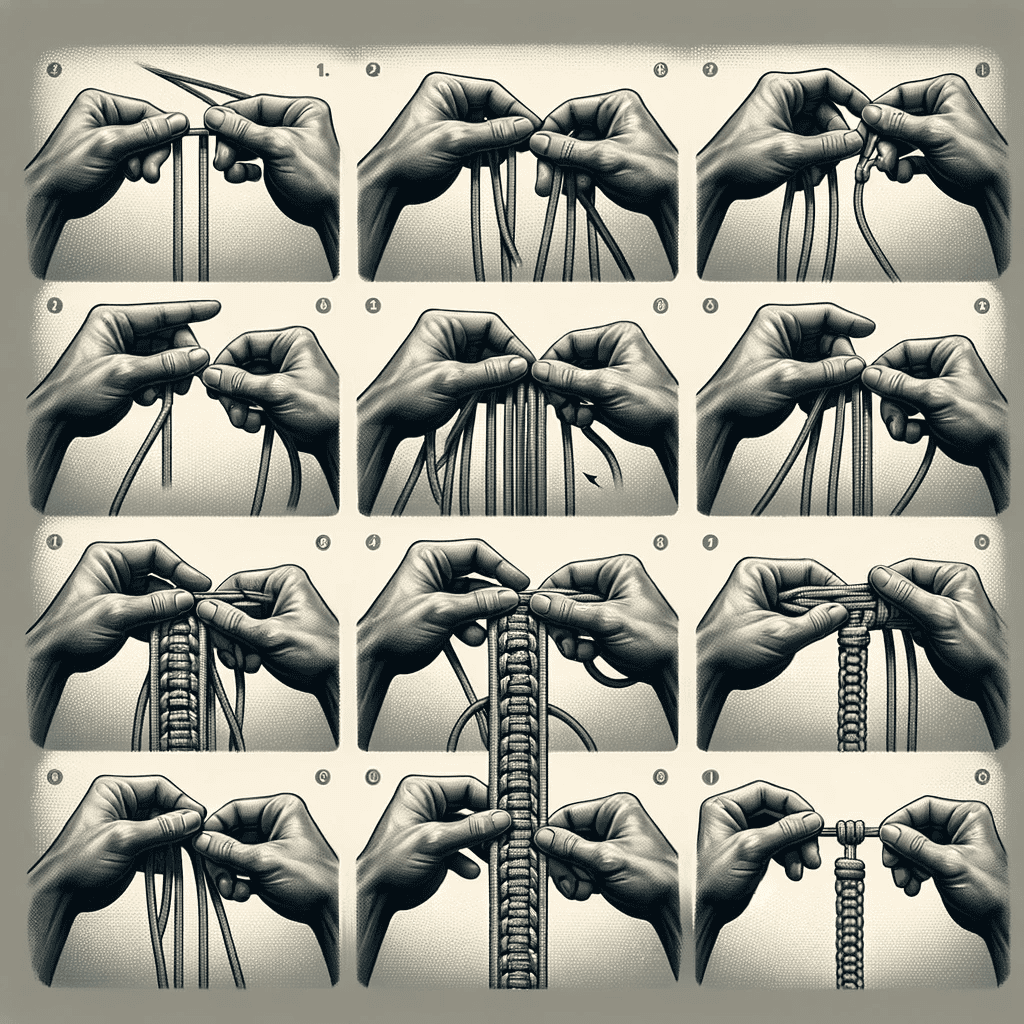
Creating a paracord bracelet is a satisfying project, blending the art of knotting with practical skills. This step-by-step guide will walk you through the process of making a basic Cobra weave paracord bracelet.
Materials Needed
- About 8-10 feet of 550 paracord
- A side-release buckle
- Scissors
- Lighter
- Measuring tape
Step 1: Measuring Your Wrist
Measure your wrist circumference and add one inch to determine the length of your bracelet. This extra inch accounts for the space the knots will take up.
Step 2: Cutting and Melting the Paracord
Cut the paracord to the necessary length. Use a lighter to slightly melt the ends to prevent fraying. Be careful to avoid burning the cord.
Step 3: Attaching Paracord to the Buckle
Fold your paracord in half and thread the looped end through one part of the buckle, pulling the cord’s ends through the loop to secure it. Then thread the loose ends through the other part of the buckle, adjusting to the wrist measurement.
Step 4: Starting the Cobra Weave
Start the Cobra weave by laying the left strand over the two center strands and under the right strand. Then take the right strand over the left strand, behind the center strands, and up through the loop formed by the left strand. Pull tight.
Step 5: Continuing the Cobra Weave
Repeat the process, alternating the starting strand each time. This creates the distinctive “V” pattern of the Cobra weave. Continue this pattern until you reach the desired length of the bracelet.
Step 6: Finishing the Bracelet
Once you’ve reached the end, cut any excess cord and melt the ends with a lighter to secure them in place. Ensure the melted ends are smooth to avoid any sharp edges.
Step 7: Testing the Fit
Fasten the bracelet around your wrist to ensure a comfortable fit. Make any necessary adjustments.
Congratulations! You’ve just completed your paracord bracelet. This basic Cobra weave bracelet is not only a great introduction to paracord crafting but also a functional piece of survival gear.
Advanced Techniques and Patterns in Paracord Bracelet Making
The King Cobra Weave
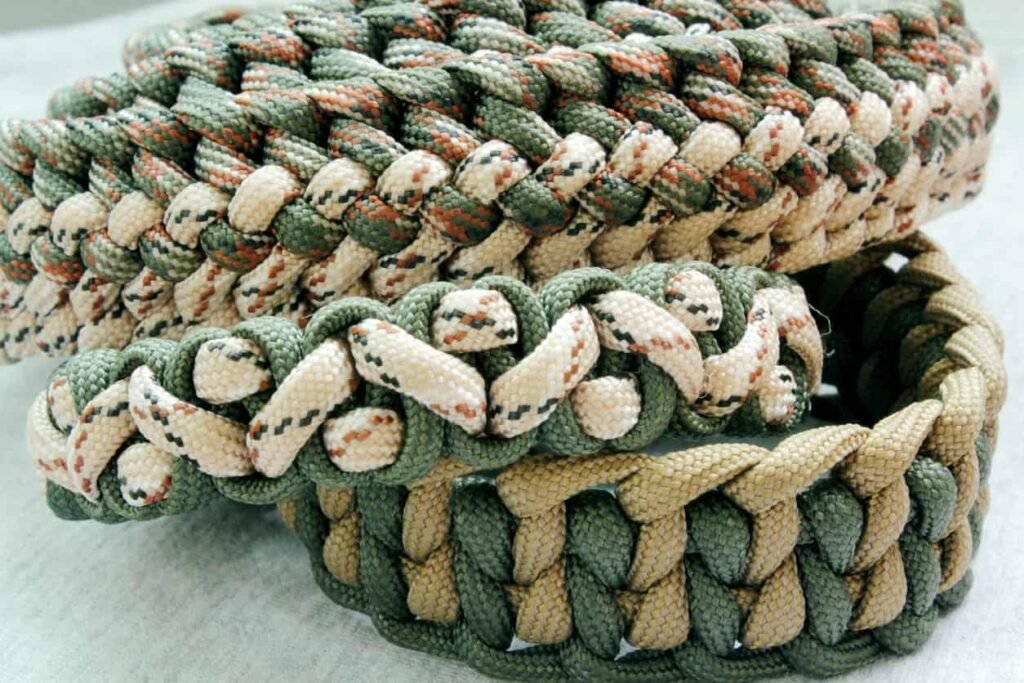
An evolution of the basic Cobra weave, the King Cobra is thicker and wider, offering more cordage in the bracelet. It’s essentially a Cobra weave over another Cobra weave. This design is perfect for those who need more paracord for survival purposes or prefer a more substantial bracelet.
The Trilobite Weave
The Trilobite weave, known for its unique, broad appearance, is another excellent choice for advanced crafters. It creates a flat, wide bracelet that stands out due to its distinct pattern. While it uses more paracord, its detailed finish makes it a favorite among many enthusiasts.
The Dragon’s Tongue Weave
The Dragon’s Tongue is an intricate pattern that combines aesthetics with complexity. It’s distinguished by its dual-colored, ridge-like appearance and is perfect for those looking to incorporate multiple colors into their design.
The Fishbone Weave
The Fishbone weave offers a unique, scale-like design that is both challenging and rewarding to make. It’s a great pattern for those who have mastered other weaves and are looking for something different.
Adding Beads and Charms
For a personalized touch, incorporate beads or charms into your advanced bracelet designs. This not only adds a visual appeal but also allows you to customize bracelets for specific themes or purposes.
The Slip Knot for Adjustable Bracelets
Creating an adjustable bracelet using a slip knot is a practical technique for advanced crafters. This knot allows the bracelet to fit a wider range of wrist sizes and is especially useful for bracelets made as gifts.
Adding Accessories and Tools to Paracord Bracelets
Integrating Survival Tools
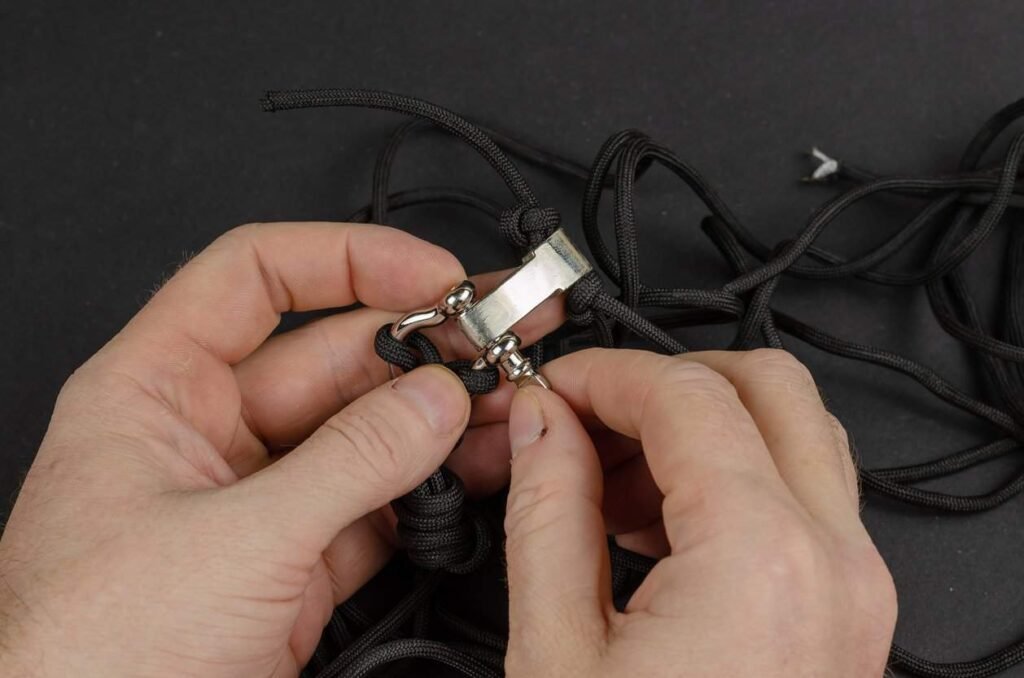
One of the most practical additions to a paracord bracelet is survival tools. Small compasses, fire starters, or even mini flashlights can be woven into the design. These tools are invaluable in survival situations, making your bracelet much more than a fashion accessory. For ideas on integrating survival tools, Survival Life offers great insights.
Incorporating Whistles
A whistle can be a lifesaver in emergency situations, especially for signaling help. Many paracord bracelets include a buckle with a built-in whistle, which is both discreet and convenient. Whistle Buckle Bracelets provides a range of options for adding whistles to your bracelet.
Adding Fishing Gear
For the avid outdoors person, integrating fishing gear like hooks and line into a paracord bracelet can be incredibly useful. This is particularly beneficial for survivalists who prioritize having basic fishing tools on hand. Paracord Fishing Bracelet Kits showcases how to include these elements.
Including First-Aid Components
Small first-aid items such as safety pins, bandages, or even a tiny vial of antiseptic can be tucked into a paracord bracelet. While these additions won’t replace a full first-aid kit, they can be handy in minor emergencies.
Attaching Mini Tools and Blades
Small tools like screwdrivers, mini knives, or hex wrenches can be added to a paracord bracelet. These tools can be encased in the weave or attached to the bracelet through a small keyring.
Custom Beads and Charms for Personalization
Apart from survival tools, adding custom beads and charms can give your bracelet a personal touch. Whether it’s a meaningful symbol, initials, or decorative beads, these elements allow for personal expression.
FAQ
Q1: How much paracord do I need for a standard-sized bracelet?
A: Generally, you’ll need about one foot of paracord for each inch of your wrist measurement, plus additional length for the knots and closure. For a standard 8-inch bracelet, about 8-10 feet of paracord is recommended.
Q2: Can I make a paracord bracelet without a buckle?
A: Yes, you can make a paracord bracelet without a buckle using various knotting techniques that allow the bracelet to be tied directly onto the wrist or using adjustable knots.
Q3: How do I prevent my paracord bracelet from fraying?
A: To prevent fraying, lightly melt the ends of the paracord with a lighter after cutting. Ensure the melted ends are smooth and not sharp.
Q4: Is paracord waterproof? Can I wear my bracelet in water?
A: Paracord is generally water-resistant, not waterproof. It can get wet without damage, but continuous exposure to water can weaken the fibers over time. It’s advisable to remove the bracelet before swimming in chlorinated or saltwater.
Q5: Can I add a watch to my paracord bracelet?
A: Absolutely. You can weave a watch face into your paracord bracelet for a practical and stylish look. Ensure the watch face is secure and the paracord doesn’t interfere with the watch’s functionality.
Q6: Are paracord bracelets suitable for kids?
A: Yes, paracord bracelets are suitable for kids, but it’s important to ensure they fit properly and don’t include small parts that could pose a choking hazard. Additionally, always supervise young children when they are wearing paracord bracelets.
Q7: How do I clean my paracord bracelet?
A: Clean your paracord bracelet with mild soap and water, then air dry it. Avoid using harsh chemicals or bleach, as they can weaken the fibers.
Conclusion
In conclusion, understanding the right amount of paracord needed for a bracelet is crucial in the world of survival gear crafting. This guide has provided you with the knowledge to accurately determine the length required for various designs and wrist sizes, ensuring your paracord bracelet is both practical and aesthetically pleasing. Remember, the key to a successful paracord bracelet lies in precise measurement and creative execution, blending functionality with personal style.

