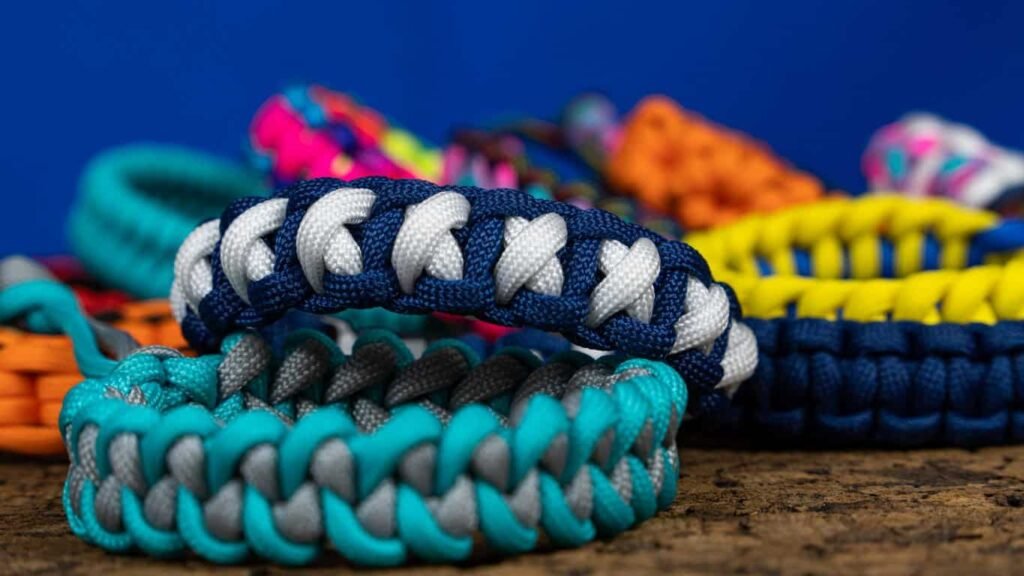
Welcome to the essential guide on how to expertly finish a paracord bracelet. The art of ending a paracord bracelet is as crucial as its creation, ensuring durability, functionality, and style. In this guide, we’ll navigate through the various techniques to securely and aesthetically conclude your bracelet, transforming a woven length of paracord into a finished piece of survival gear. Whether you’re a seasoned crafter or a beginner, mastering the final touch is key to perfecting your paracord bracelet.
Types of Paracord for Bracelets
Understanding Paracord Ratings
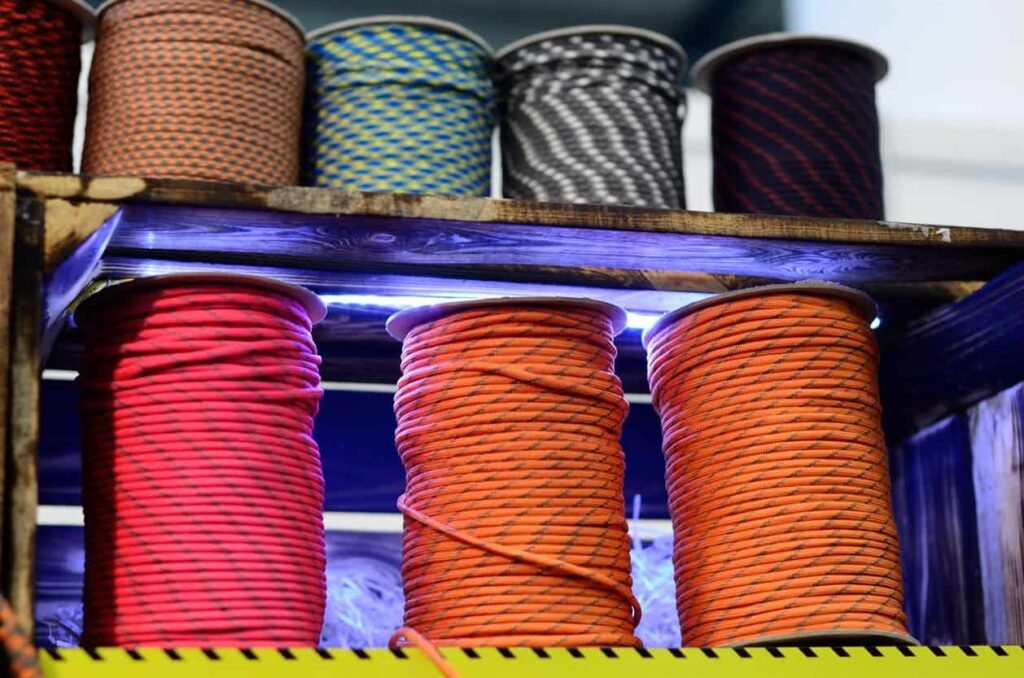
Paracord is classified by its strength rating, with the most common type for bracelets being the 550 paracord, also known as Type III. The ‘550’ denotes its minimum breaking strength of 550 pounds, making it an ideal blend of durability and flexibility for bracelet making. Explore Paracord Ratings
Type III 550 Paracord
The Type III 550 paracord is a popular choice among bracelet makers for its versatility. It’s composed of a 32-strand sheath and typically contains 7 to 9 inner yarns, offering a balance of strength and workability. This type is suitable for a wide range of bracelet designs and is available in various colors and patterns.
Other Types of Paracord
Besides the popular 550 paracord, other types like Type I (95 cord), Type II (425 cord), and Type IV (750 cord) are available, each with different load-bearing capacities and thicknesses. These types are chosen based on specific project requirements or personal preferences. Learn About Different Paracord Types
Specialty Paracords
In addition to standard paracords, there are specialty cords like reflective paracord, glow-in-the-dark paracord, and even paracord with integrated fishing lines or fire-starting strands.
Preparing the Paracord for Finishing

Measuring the Paracord
The first step in bracelet preparation is accurately measuring the length of paracord you’ll need. This depends on your wrist size and the bracelet pattern. A common guideline is to use about one foot of paracord for each inch of the bracelet length, but this can vary with different weaves. For precise measuring techniques, Paracord Measuring Tips offers valuable insights.
Sealing the Ends
After cutting the paracord, it’s important to seal the ends to prevent fraying. This is typically done by lightly melting the ends with a lighter or match. Be careful to melt the ends just enough to seal them without burning the cord. Sealing Paracord Ends demonstrates the right way to do this.
Removing the Inner Strands
For certain bracelet designs, you may need to remove the inner strands (or the “guts”) of the paracord. This makes the cord more flexible and easier to work with for intricate designs. However, this also reduces the strength of the paracord. Gutting Paracord Guide explains when and how to remove the inner strands.
Checking for Defects
Before starting your project, inspect the length of the paracord for any defects or inconsistencies in the weave. Flaws in the cord can affect both the appearance and the structural integrity of the finished bracelet.
Basic Knotting Techniques for Finishing Paracord Bracelets
The Overhand Knot
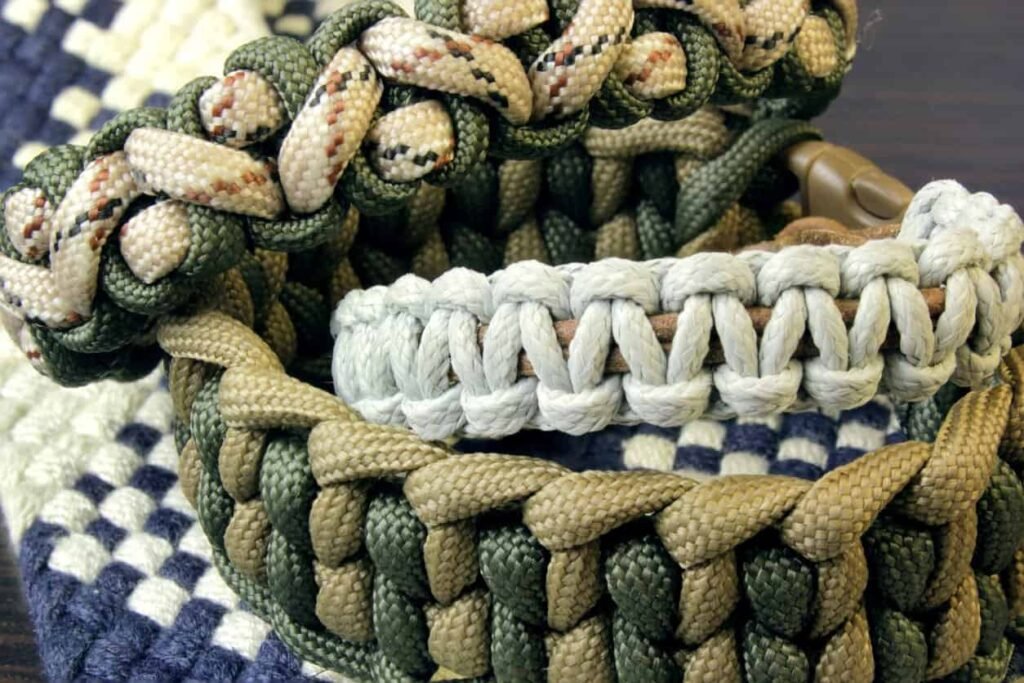
The overhand knot is one of the simplest and most commonly used knots in finishing paracord bracelets. It’s effective for securing the cord’s end and is easy to untie if adjustments are needed. To tie an overhand knot, simply make a loop with the cord’s end and pass the end through the loop. Pull tight to secure.
The Square Knot
Also known as a reef knot, the square knot is ideal for joining two ends of paracord together. It’s a strong, simple knot that lies flat against the bracelet, making it comfortable to wear. Start by laying the right end over the left, then under, and repeat with the left end over the right and under. Pull both ends to tighten.
The Surgeon’s Knot
The surgeon’s knot is a variation of the square knot that offers an extra layer of security, making it ideal for paracord bracelets. After making a basic square knot, before tightening, pass the ends through the loop an additional time. This provides a stronger hold. Surgeon’s Knot for Paracord Bracelets demonstrates this technique.
The Double Overhand Knot
For added security, the double overhand knot is an excellent choice. It’s essentially an overhand knot with an extra pass-through, creating a larger and more secure knot. This knot is particularly useful for thicker or heavier bracelets.
Securing with a Hemostat or Needle
For intricate designs or tight spaces, using a hemostat or a needle to pull the ends through the knots can be very helpful. This technique ensures a tight and neat finish.
Melting and Tucking the Ends
After tying your finishing knot, the paracord’s end should be melted with a lighter to prevent fraying. Once melted, quickly press the end against a hard surface to flatten it, then tuck it into the nearest loop or under the bracelet’s body for a clean finish. Melting and Tucking Paracord Ends shows how to do this properly.
Advanced Knots and Loop Closures for Paracord Bracelets
The Monkey Fist Knot
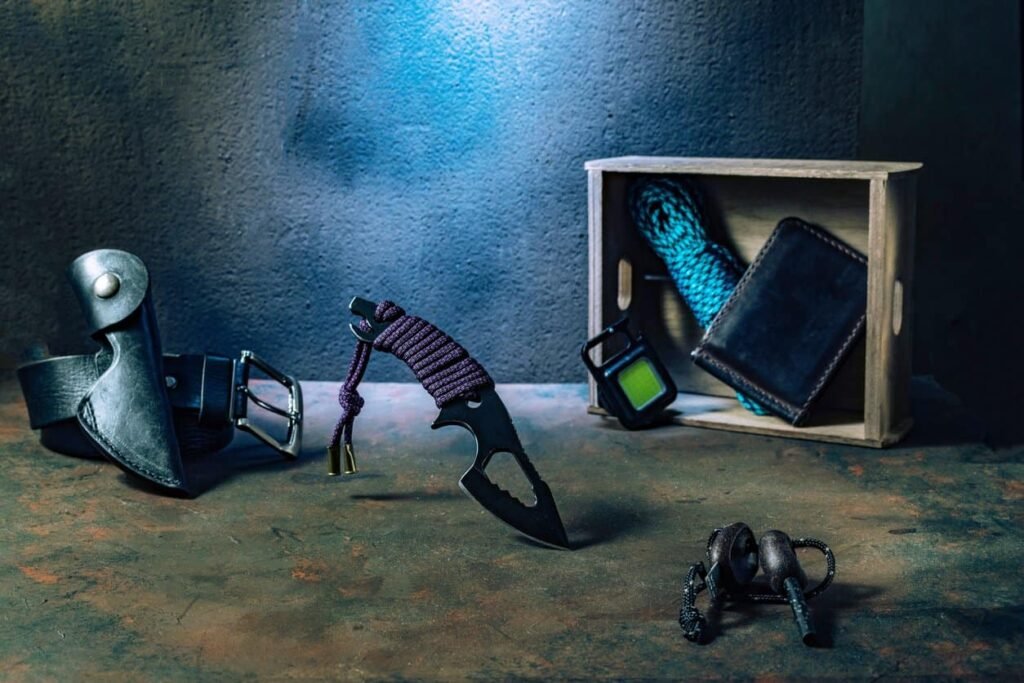
The Monkey Fist knot is a spherical knot that can serve as a decorative and functional closure or a weight at the end of a bracelet. It’s particularly useful in survival situations where a weighty throw-line might be needed. Crafting this knot involves wrapping the paracord around your fingers and then around the loops you’ve made, creating a dense, ball-like knot.
The Diamond Knot
The Diamond Knot is an elegant solution for creating a loop closure on a bracelet. It’s intricate and aesthetically pleasing, offering a secure way to fasten a bracelet without the need for additional hardware. This knot works exceptionally well with two-color bracelets. For instructions on tying a Diamond Knot, visit Diamond Knot Instructions.
The Snake Knot
While simpler than some other knots, the Snake Knot is versatile and can be used to create a loop or as a decorative element in your bracelet. It’s particularly effective for making adjustable closures.
Adjustable Sliding Knots
Adjustable sliding knots are perfect for bracelets that need to fit various wrist sizes or for those who prefer a customizable fit. This knot allows the bracelet to expand and contract easily.
The Turk’s Head Knot
The Turk’s Head Knot is a complex, woven knot that can be used as a bracelet itself or as a decorative closure. It’s a continuous loop that wraps around the wrist, offering a unique and eye-catching design. Learn this intricate knot at Turk’s Head Knot Weaving.
Attaching Buckles and Clasps to Paracord Bracelets
Attaching a Side-Release Buckle
To attach a side-release buckle, thread the paracord through one end of the buckle, then double it back and weave it into your chosen bracelet pattern. Ensure the buckle sits snugly against the starting point of the weave.
Using Adjustable Shackle Clasps
Adjustable shackle clasps are ideal for those who prefer a more rugged look and a customizable fit. They consist of a U-shaped shackle and a pin or screw to fasten it. Thread the paracord through the shackle’s holes and secure it with knots or weaves. Shackle Clasp Techniques provides detailed instructions.
Incorporating Decorative Metal Clasps
For a more stylish finish, decorative metal clasps can be used. These clasps add an elegant touch to your bracelet and are available in various designs. To attach, simply weave the paracord into the clasp’s ends.
Using Loop and Knot Closures
For a buckle-free design, loop and knot closures are a simple and effective option. Create a loop at one end of the bracelet and a knot at the other end that fits through the loop securely. Loop and Knot Closure Methods explains how to create these closures.
Securing the Ends
Regardless of the type of buckle or clasp, ensure the ends of the paracord are securely fastened. This can be done by melting the ends with a lighter and pressing them flat.

FAQ
Q1: How do I choose the right length of paracord for my bracelet?
A: Generally, you will need about one foot of paracord for every inch of your wrist size. However, this can vary based on the bracelet design and knotting technique. It’s always better to have a little extra than not enough.
Q2: Can I make a paracord bracelet without a buckle?
A: Yes, you can make a paracord bracelet without a buckle by using adjustable knots, like a sliding knot, for closure. This provides a comfortable and secure fit without the need for additional hardware.
Q3: How do I prevent my paracord bracelet from fraying?
A: To prevent fraying, carefully melt the ends of the paracord with a lighter or match, and then press them while they’re still warm to seal them. Be cautious not to burn the cord.
Q4: How do I clean my paracord bracelet?
A: Clean your paracord bracelet with mild soap and water, gently scrubbing it if necessary. Avoid using harsh chemicals. Rinse thoroughly and let it air dry.
Q5: Can paracord bracelets hold their color over time?
A: High-quality paracord is designed to be colorfast, but continuous exposure to sunlight and harsh elements can cause some fading over time. Choosing UV-resistant paracord can help maintain the color longer.
Conclusion
In conclusion, mastering how to end a paracord bracelet is essential in the craft of bracelet making. This final step is not just about securing the bracelet but also about ensuring durability, functionality, and aesthetic appeal. Whether you choose a simple knot, an elegant clasp, or a sturdy buckle, the finishing touch reflects your craftsmanship and attention to detail. Remember, a well-finished paracord bracelet stands as a testament to your skill and creativity in this versatile art form.

