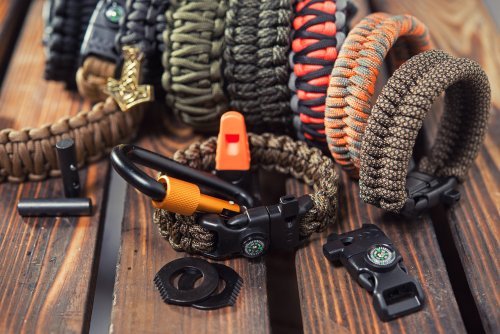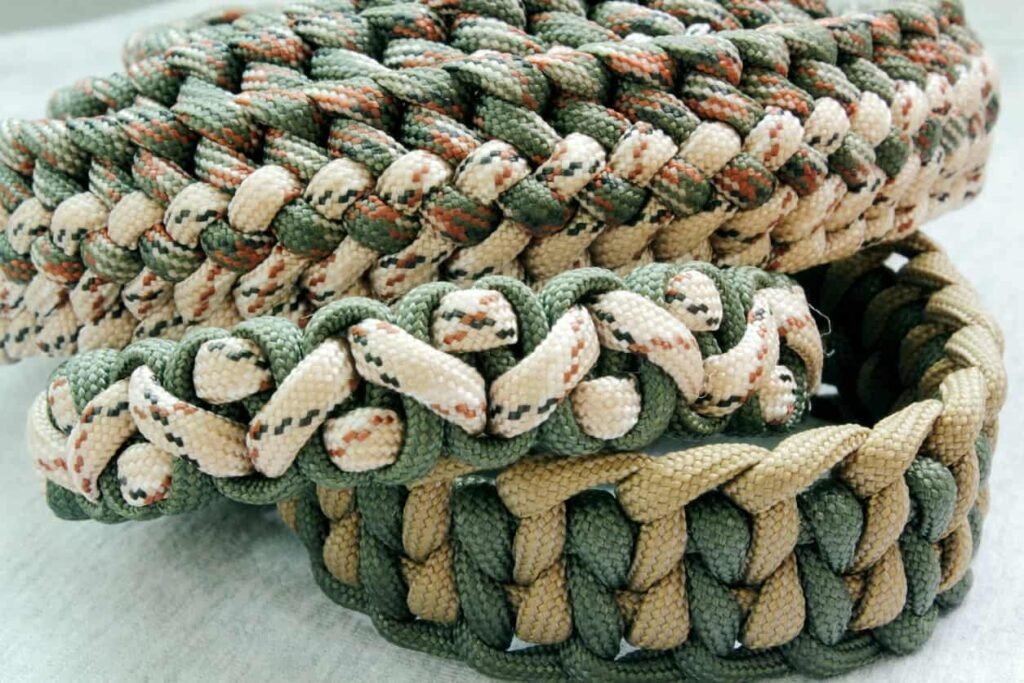
Welcome to the imaginative realm of crafting paracord bracelets without the reliance on traditional buckles. This guide is thoughtfully crafted to introduce you to the art of creating paracord bracelets using knotting techniques that eliminate the need for a buckle. Perfect for outdoor enthusiasts and DIY enthusiasts alike, these bracelets seamlessly merge practicality with a clean, minimalist design. Whether you’re new to paracord crafting or seeking to enhance your skills, this guide will expertly guide you through the process of crafting your own buckle-free paracord bracelet.
Understanding Paracord Types
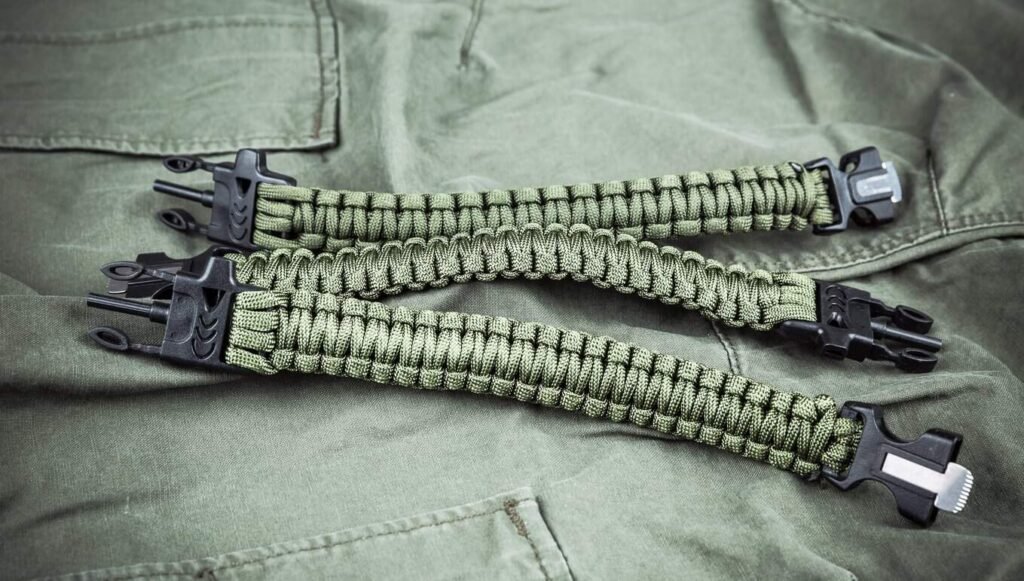
Types of Paracord
- Type III (550 Cord): The most popular for bracelet making, Type III or 550 cord, is known for its excellent balance of strength and flexibility. It can support up to 550 pounds, making it ideal for a wide range of survival scenarios. Explore Type III Paracord
- Type I (95 Cord): This type is thinner, with a tensile strength of 95 pounds. It’s suitable for smaller, more intricate bracelet designs where less bulk is desired. Discover Type I Paracord Uses
- Type II (425 Cord): Offering a middle ground, Type II has a 425-pound tensile strength and is slightly thicker than Type I but thinner than Type III. It’s a good choice for those who want durability without the bulk of 550 cord. Understanding Type II Paracord
- Type IV (750 Cord): The strongest available, with a 750-pound tensile strength. While it offers maximum durability, its thicker profile might not be suitable for all bracelet designs. Strength of Type IV Paracord
Material Composition
Paracord is generally made from nylon, offering elasticity, resistance to mildew, and durability. It consists of a kernmantle structure with an outer sheath and inner strands, which can be removed for thinner applications.
Color and Pattern Variations
The aesthetic appeal of a paracord bracelet largely depends on its color and pattern. Paracord comes in a wide range of colors and patterns, allowing for creative and personalized bracelet designs.
Understanding Stretch and Flexibility
Different types of paracord have varying degrees of stretch and flexibility. For a bracelet without a buckle, choosing a cord with the right amount of give can ensure a comfortable fit.
Tools and Materials Needed for Crafting a Buckle-Free Paracord Bracelet
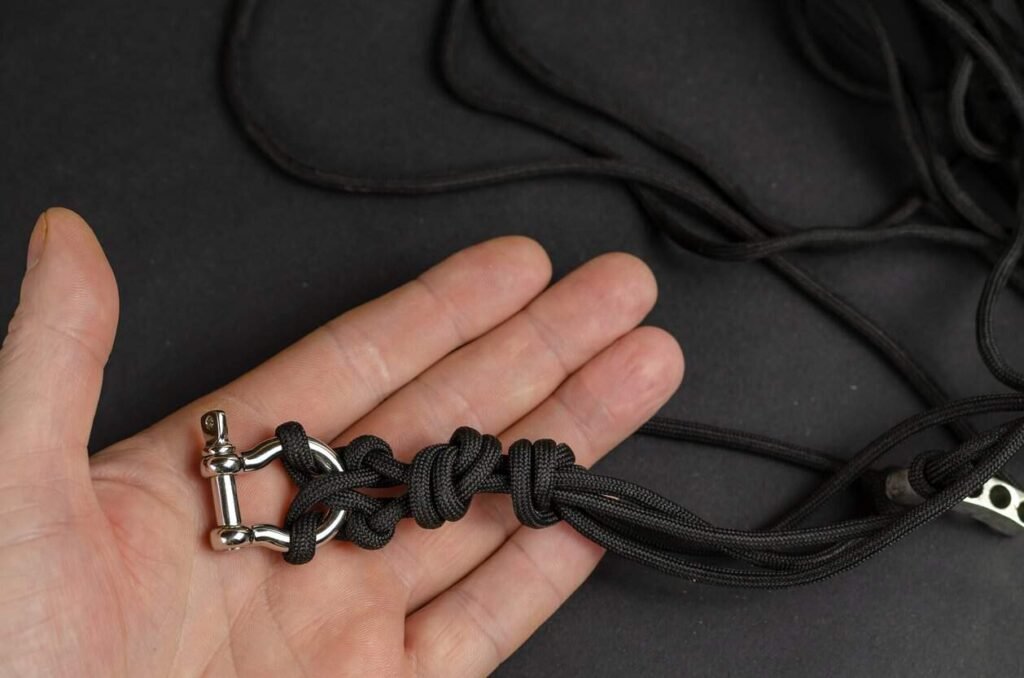
Paracord
- Length: For a standard adult bracelet, approximately 8-10 feet of paracord is typically sufficient. However, this may vary based on wrist size and the complexity of your chosen weave or knot.
- Type: As discussed in the previous section, Type III 550 paracord is most commonly used due to its strength and versatility. Choosing the Right Paracord
Cutting Tool
- Scissors or a Sharp Knife: A sharp cutting tool is essential for cleanly cutting the paracord to your desired length. Dull tools can cause fraying and uneven edges. Selecting the Best Cutting Tools
Measuring Tool
- Tape Measure or Ruler: Accurate measurement is crucial for ensuring your bracelet fits perfectly. A flexible tape measure is ideal for wrapping around your wrist to get the right size. Measuring Paracord Correctly
Sealing Tool
- Lighter or Matches: After cutting your paracord to length, you’ll need to seal the ends to prevent fraying. A lighter or a match can be used to lightly melt the ends. Sealing Paracord Ends
Knotting Aids
- Hemostat or Needle Nose Pliers: These tools can be particularly helpful for pulling and tightening knots, especially in intricate bracelet designs. Using Knotting Aids
Work Surface
- Flat, Clean Surface: A good workspace is key to crafting your bracelet. Ensure your surface is clean and flat to make the crafting process smoother. Setting Up a Crafting Space
Optional: Decorative Elements
- Beads, Charms, or Trinkets: Personalize your bracelet by adding decorative elements. Make sure these additions have holes large enough to fit the paracord through.
Storage for Materials
- Organizers or Containers: Keep your paracord and accessories organized and tangle-free. Proper storage will make your crafting process more efficient and enjoyable.
Basic Knotting Techniques for Buckle-Free Paracord Bracelets
The Cobra Knot
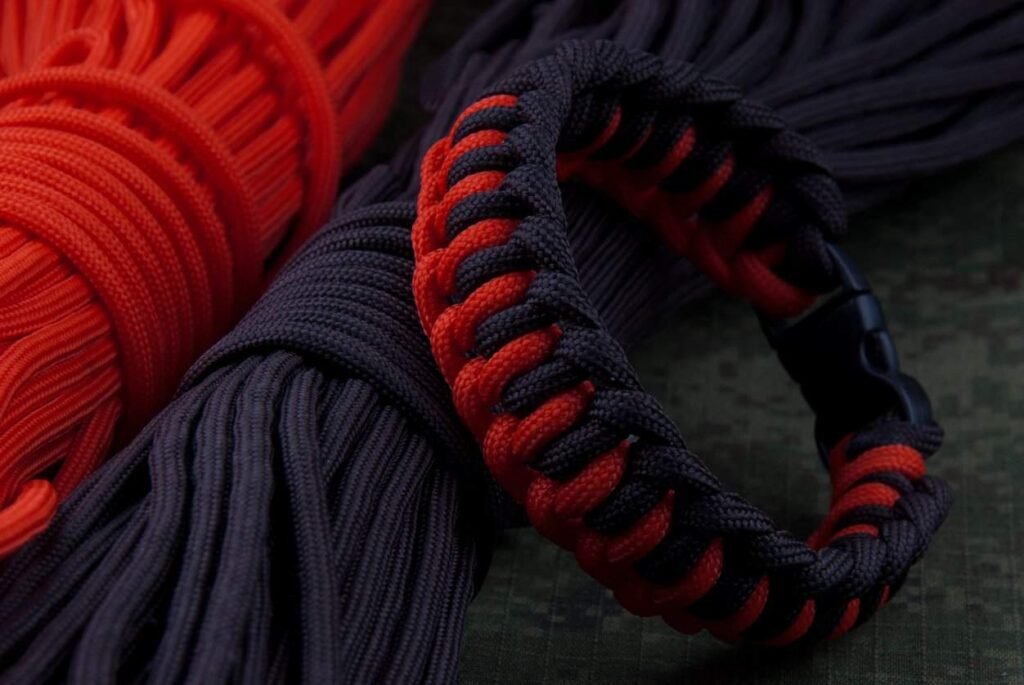
The Cobra Knot is one of the most popular for paracord bracelets. It’s simple yet strong and provides a flat, comfortable weave. Start by crossing two strands of paracord and then weaving them over and under each other in alternating patterns.
The Solomon Bar
Also known as the “King Solomon Knot” or “Portuguese Sinnet,” this knot creates a wider and flatter braid compared to the Cobra Knot. It’s ideal for those who prefer a chunkier bracelet.
The Snake Knot
The Snake Knot is perfect for creating a round, tightly woven bracelet. This knot is not only decorative but also compact, making it a good choice for a sleeker, more streamlined bracelet.
The Sliding Knot
A sliding knot is an excellent closure for a buckle-free bracelet. It allows for adjustable sizing and is relatively easy to make. It involves creating a loop with one end of the bracelet and then wrapping the other end around it multiple times. Sliding Knot Closure Technique
The Fisherman’s Knot
This is a simple knot that’s effective for joining two ends of a paracord. It’s a reliable choice for ensuring the bracelet can be securely fastened and easily adjusted. Fisherman’s Knot for Bracelets
The Loop and Knot Closure
For the simplest closure method, the loop and knot technique involves leaving a loop at one end of the bracelet and a knot at the other that fits through the loop securely.
Designing a Buckle-Free Paracord Bracelet
 Choosing a Color Scheme
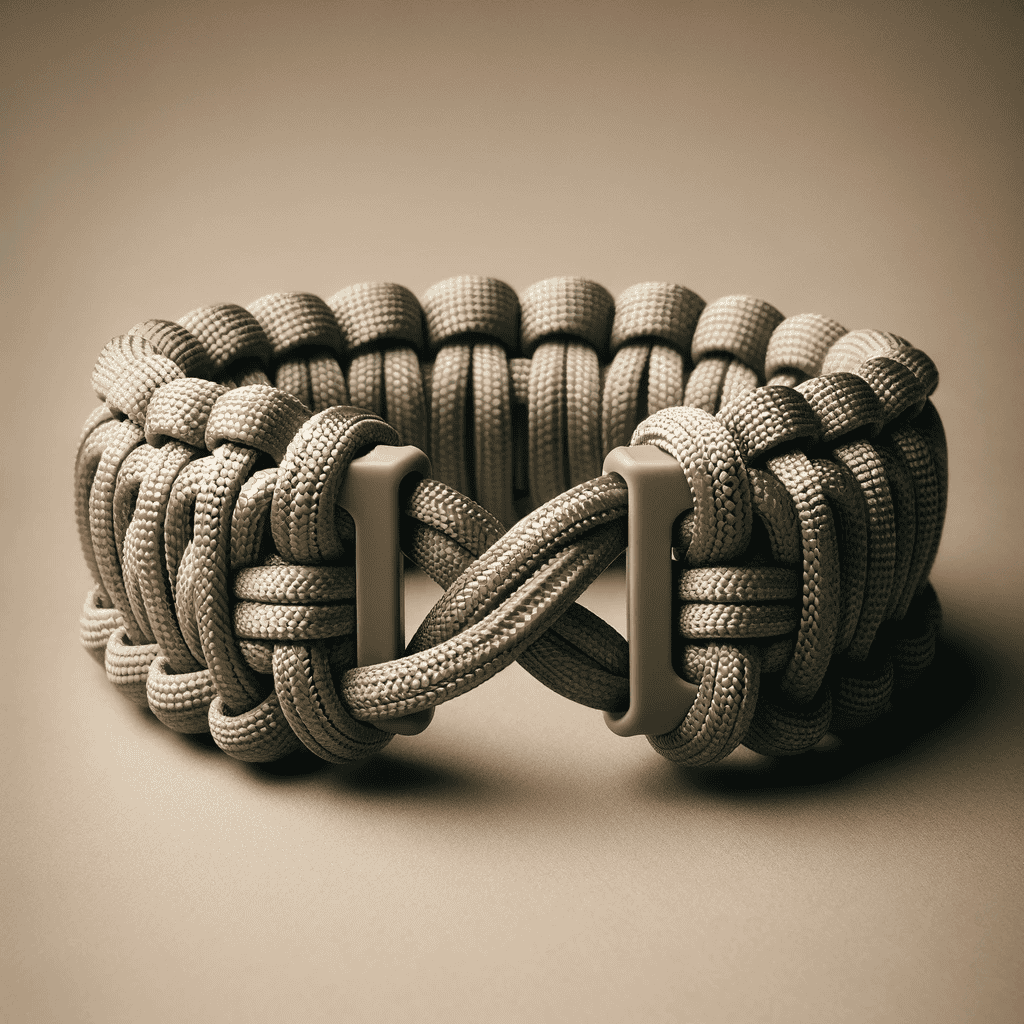
The color scheme of your bracelet can significantly impact its overall look. Consider using contrasting colors for a bold statement or complementary shades for a subtle effect. For ideas on color combinations, Paracord Color Palette Inspiration offers a range of options.
Incorporating Multiple Strands
Using multiple strands of paracord can add thickness and strength to your bracelet. It also allows for more intricate designs, such as the fishtail or king cobra weave.
Creating Patterns and Textures
Patterns like the zigzag, diamond, or wave can add texture and visual interest to your bracelet. Experiment with different knotting techniques to achieve these patterns. Paracord Pattern Ideas provides step-by-step guides.
Adding Decorative Elements
Beads, charms, and small trinkets can be threaded onto the paracord for a decorative touch. Ensure that these elements have large enough holes to fit the paracord through.
Consideration for Comfort and Fit
Since buckle-free bracelets are typically slipped on, ensure that the bracelet is sized appropriately for comfort. It should be snug enough to stay on but loose enough to slide over the hand.
Integrating Survival Tools
For added functionality, consider weaving in small survival tools such as a mini compass, flint rod, or a whistle. These can enhance the utility of your bracelet, especially for outdoor enthusiasts.
Step-by-Step Guide to Making a Buckle-Free Paracord Bracelet
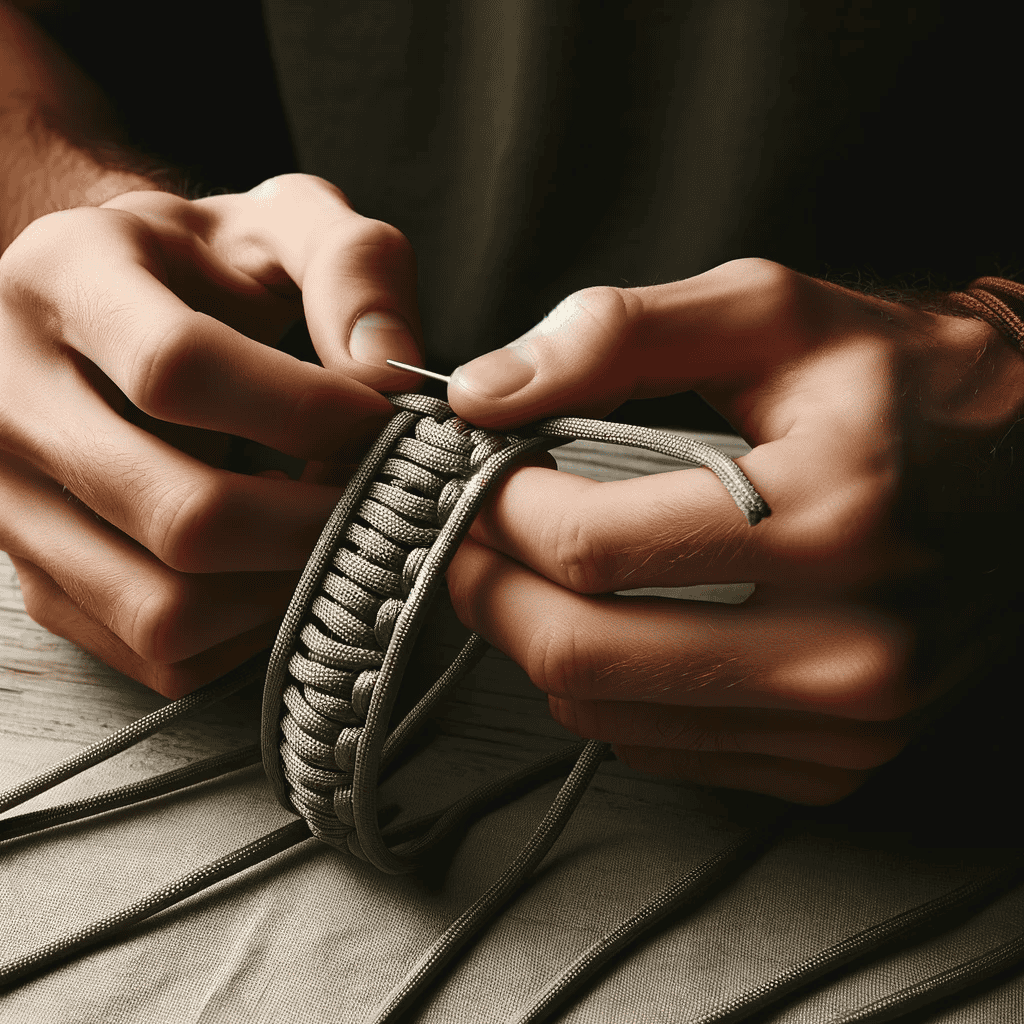
Step 1: Measuring and Cutting the Paracord
Begin by measuring your wrist and cutting a length of paracord accordingly. A good rule of thumb is to use one foot of paracord for each inch of your wrist measurement, then add one extra foot for the knotting process.
Step 2: Sealing the Ends
Use a lighter to slightly melt the ends of your cut paracord. This prevents fraying and makes threading easier. Be careful not to burn the cord. Sealing Paracord Ends
Step 3: Creating the Core Loop
Fold your paracord in half to find the center. Create a loop at the center point; this loop will be the base of your bracelet. Creating a Paracord Loop
Step 4: Weaving the Bracelet
Choose a weaving pattern such as the simple Cobra Knot or Solomon Bar. Weave around the core loop, starting from the loop and working towards the loose ends. Keep the weaving tight for a neat finish.
Step 5: Adjusting for Size
As you weave, periodically wrap the bracelet around your wrist to check the fit. Leave enough room to slip it on and off comfortably. Adjusting Bracelet Size
Step 6: Finishing the Weave
Once you reach the desired length, cut off the excess paracord and seal the ends by melting them with a lighter. Tuck any remaining loose ends under the bracelet’s weave for a clean finish.
Step 7: Adding Decorative Elements (Optional)
If desired, add beads or charms to your bracelet for personalization. Slide these onto the paracord at any point during the weaving process. Adding Beads to Paracord Bracelets
Step 8: Final Inspection and Adjustments
Once completed, inspect the bracelet for any loose ends or irregularities. Make any necessary adjustments to ensure a comfortable and secure fit. Final Bracelet Inspection

FAQ
Q1: How much paracord do I need for a bracelet?
A: Generally, you should measure your wrist and use about one foot of paracord for each inch of wrist size, plus an extra foot for knotting. The total amount can vary based on the bracelet design and knotting technique.
Q2: What is the easiest knot to start with for beginners?
A: The Cobra Knot is one of the easiest and most popular knots for beginners. It’s straightforward, durable, and lays the foundation for more complex patterns.
Q3: Can I make a paracord bracelet without any special tools?
A: Yes, you can make a basic paracord bracelet without special tools. Essential items include paracord, scissors, and a lighter for sealing the ends. More complex designs might require additional tools like needles or pliers.
Q4: How do I adjust a buckle-free paracord bracelet to fit my wrist?
A: You can adjust the size of your bracelet by carefully planning the length of the paracord and the tightness of your knots. Sliding knots or adjustable loops can also be used for a more customizable fit.
Q5: Can buckle-free paracord bracelets be washed?
A: Yes, buckle-free paracord bracelets can be hand washed with mild soap and water. Ensure that the bracelet is completely dried after washing to maintain its integrity.
Q6: Are there any safety concerns with wearing paracord bracelets?
A: Paracord bracelets are generally safe to wear. However, it’s essential to ensure that your bracelet isn’t too tight on your wrist, as it could restrict blood flow. Additionally, be cautious when wearing them near machinery or in situations where they could get caught.
Conclusion
In conclusion, crafting a buckle-free paracord bracelet offers a blend of simplicity, style, and functionality. By mastering basic techniques and exploring various designs, you can create custom bracelets that reflect personal taste while serving as a practical accessory. Whether for outdoor adventures, fashion, or survival scenarios, these bracelets are a testament to the versatility and utility of paracord. Embrace the creativity and satisfaction that comes from making your unique, buckle-free paracord bracelet.

 Choosing a Color Scheme